SummerAIhw1
First steps in machine learning with Teachable Machine.
Goal: becoming familiar with the machine learning workflow. You will:
- Collect data.
- Train the machine learning model.
- Evaluate the model.
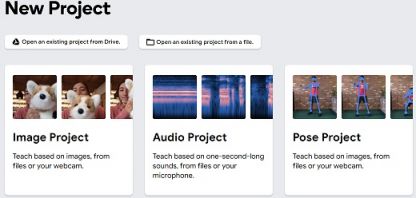
Choose one of three tasks: recognizing contents of images or videos, recognizing some sound, or recognizing poses of the human body. You must collect your own data. Downloading existing data may be acceptable if you have a very good idea, but it needs to be agreed beforehand.
Go to https://teachablemachine.withgoogle.com/ and click "Get Started".
Task descriptions
Image classification is where you have pictures belonging to different "classes". Examples: cats or dogs, people or scenery, different species of the iris flower, different traffic signs. Given a picture, the machine learning model must "predict" which class the picture belongs to. This also works with videos, which are basically sequences of images. If you choose this task, select "Standard image model".
Sound classification is similar, except works with sound files. If you choose this task, note that the project page also expects you to upload background noise.
In pose detection, the model needs to first recognize where a person's body, hands, feet and head are. From this it can draw a kind of a stick figure. The poses of this stick figure is then what the model will classify.
Collecting data
Collect your data from the classroom, campus, town, wherever. To keep things simple, you should have two or three different things that the model should learn to recognize.
If you use the webcam feature, you need to have Teachable Machine's model training webpage open to record data. You can save an incomplete project to Google Drive and reopen it later. Pictures and sound clips can be collected however you like, then uploaded. Please be mindful of people's privacy, when recording data that will be used to train a model.
Training and saving the model
If you used the webcam, you are ready to train the model.
If you have images or sound clips as files, take about 10% of those files and set them aside for testing. They will not be used in training the model. The rest should be divided to classes and uploaded under the appropriate class. You can rename the classes on the training webpage.
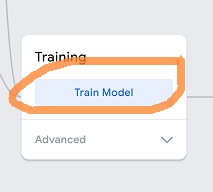
Press "Train Model" to start the training and wait until it finishes.
Evaluation
When your model is ready, a preview panel will appear on the right. You can now upload some of the test files to see if the model is doing what it is supposed to, or use the webcam to test.
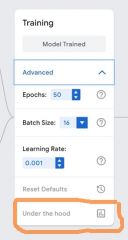
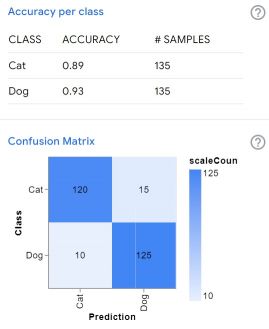
There is also a more technical way to check how the training went. Click "Advanced" under the model training button, then "Under the hood". You can then press the buttons to calculate accuracy per class and the confusion matrix - the latter is useful if you have more than two classes. This data may not be very reliable if you didn't have many training examples.
Saving
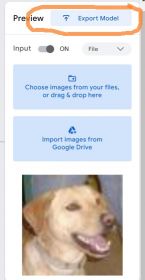
If the model seems to work reasonably, press the "Export model" button. The easiest way to save the model so that it can later be shown in the classroom is to use the "upload (shareable link)" option.
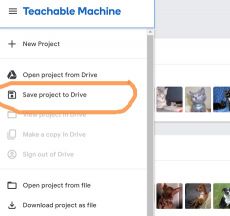
You can also choose "Save project to Drive" from the top left menu, if you want to keep working with it.
